 April 13, 2016
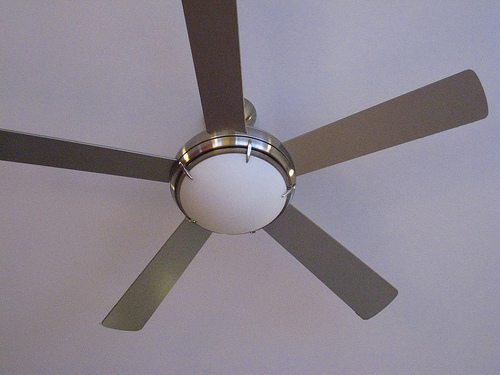
Give Your Ceiling Fan a Facelift. Ceiling fans are as popular today as ever, and if you’re thinking about upgrading your current ceiling fan and swapping it out for a brand new fixture with a little more style and pizzazz, you may want to reconsider that purchase, and opt for a ceiling fan facelift instead.
Here’s why: Though it may be true that a new ceiling fan is no longer the expensive purchase it once was, and yes, you can easily purchase a brand new ceiling fan for as little as $50.00, it takes a lot of effort to remove the old fixture and then assemble and install the new fixture. It is a job that can be both time consuming and challenging. There can be numerous parts to assemble and keep track of, assembly directions that can be downright confusing, and then there’s the matter of the power source. You have to disconnect the old fan and then re-connect the new fan to the power source.
If, on the other hand, you opt for a ceiling fan facelift instead, you’ll bypass most of the work, and receive the benefits of having installed a new fixture, without the trouble and the cost. For as little as the price of a can or two of aerosol paint and/or a new glass globe or globes, and a little elbow grease, no one but you has to know that your new ceiling fixture isn’t new! Today there are an array of aerosol paints to choose from: metallic, crackle effect, chrome, glitter, suede and even a paint that resembles stone. You are only limited by your own imagination, and there are more colors to choose from then ever before as well.
- First, simply remove those ceiling fan components that can easily be removed , such as the blades and globe(s). Parts like the canopy and motor cover may have to remain attached, however, ceiling fan styles differ slightly and more components may be easily removed than those mentioned. The more components you are able to remove prior to spraying, the easier the task will be.
- Make certain to thoroughly clean all parts of dirt and dust. Mask areas that will not be painted, and also mask off the ceiling area around the ceiling fan to prevent over-spray, when painting components of the ceiling fan that can not be removed.
- Remember to thoroughly read and follow the manufacturer’s instructions listed on the aerosol paint you purchase, including any recommendations for cleaning and priming items to be painted before beginning your project.
- Paint your components and put everything back together.
by See Jane Drill, Copyright 2016, All Rights Reserved


Leave A Comment