September 11, 2014
Install Baseboard Corners Perfectly (Written Guide). It is helpful to see this skill to understand it, so before beginning the job, watch the video “How to Install Baseboard Corners With Tight Corners”.
You will need a coping saw to perform this task. You can purchase one for about $10 from Amazon.com, (Stanley Coping Saw), or from any home improvement store.
To begin, prep your baseboard in one of two ways:
a. Cut the end at a 45 degree angle, using a miter saw.
b. If you don’t have a miter saw, you can trace the profile of one baseboard along the top of the other baseboard, using a very sharp pencil, to create your outline. (To see how this is done, watch the video)
Clamp your baseboard securely to a work surface.
Next, with your coping saw held at a slight tilt forward, make a cut-out along the profile of the baseboard. The forward tilt will enable you to “back-cut” the baseboard. It might be helpful to make an outline first with a pencil, so that you can follow the line.
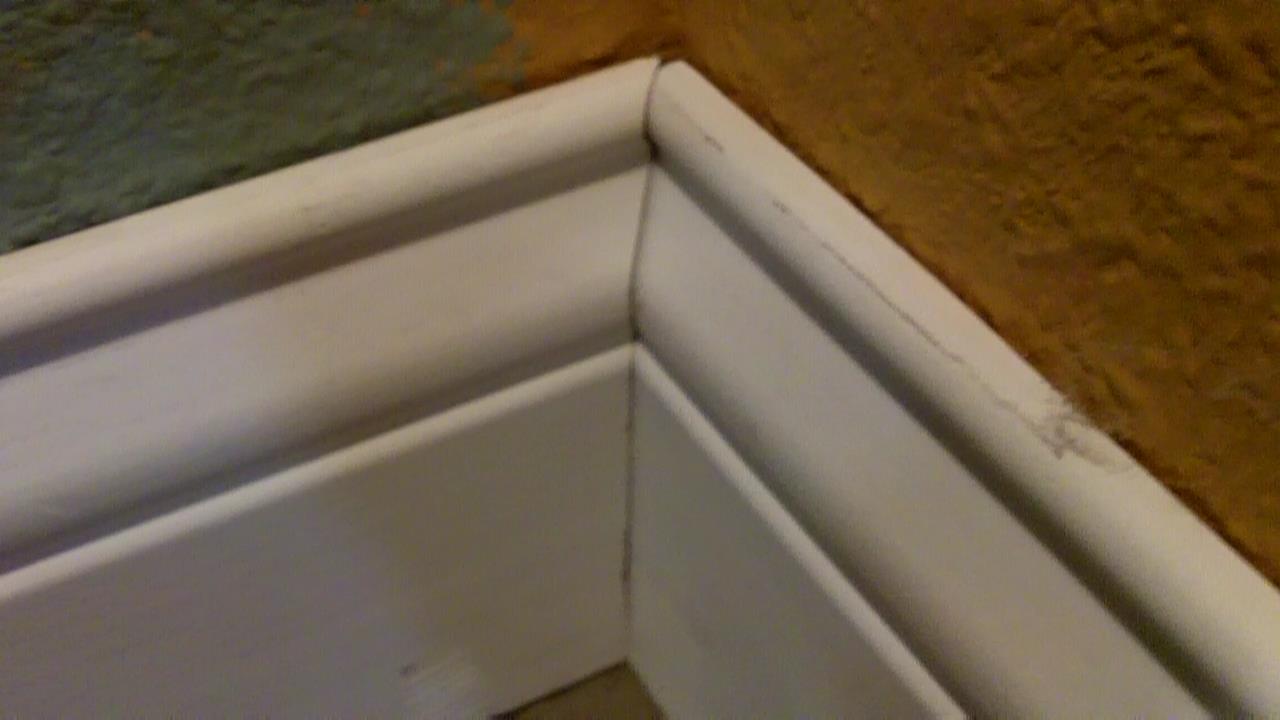
To install your baseboards, put the first one (that you didn’t cut) flush up against the corner. Next, install the baseboard that you cut with the coping saw right up against the other baseboard. It should fit nearly perfectly!
And that is all it takes.
by See Jane Drill, Copyright 2014, All Rights Reserved


Like & explained simply.
thanks!
Just want to say your videos have taught me so much! I have laminate and tile floors. I am installing my baseboards but sometimes there is a gap on the floor from the baseboard due to bulges and dips. What can I do to avoid that gap?I don’t want to put quarter round it looks tacky to me. Is there a way to fill the gap? Some gaps are so big I think it might be too big to even caulk